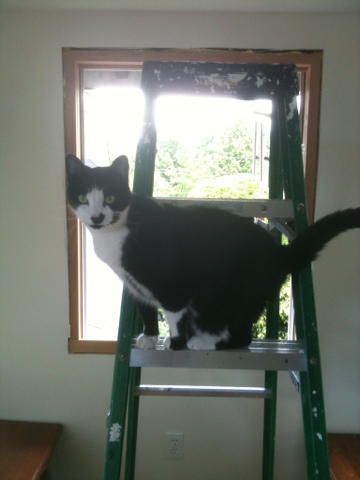
Monday, 16 January, 2012

Kitchen cupboards in progress

Well its been about 6 months since our last post. We've been working on the kitchen since May, pulled out all the plaster (it wasn't salvageable). Replaced the windows and doors, refinished the floors, and many other thing we'll leave for another post. We're building the faceframes and doors using salvaged wood from other parts of the house, 80 year old douglas fir. The boxes are made with good one side fir plywood, so they should be plenty strong. All the faceframes for the bottom cabinets are done, so we're moving on to doors and drawers. Once they're done we can order the counters and start on the uppers. We are still figuring out the colour, we were thinking bay berry green milk paint on the bottom, and Waterlox varnish on the uppers. We need to experiment with the milk paint.


Monday, 16 May, 2011

3 drawers down


I've been working on the other 2 drawers, it's a really slow process. The 2 middle drawers are both 5". The bottom drawer is 7.5". I should have done 5.25" and 7", would have been a lot easier, since I have to glue up boards for the bottom drawer. I drilled the holes for the hardware, it isn't screwed on yet, I still have to varnish the fronts. The  centre slides have been giving me a little bit of trouble. I slammed my thumb between the face frame and the drawer back, while pulling one out. It broke the back of the drawer. My thumb is a still healing.


Hand cutting dovetails sure isn't easy. I'm getting a little better at it, still have to work on my precision. It's easy to chip off a corner if you're not careful.


I'm pretty happy with the gaps on the drawers. They're still fitting a bit tight though. The last 2 I did, I oriented the grain so I can plane all the way around, without tearing out. It's looking too nice for the basement kitchen. It is my practice kitchen, since I'll be making almost the identical drawer unit for upstairs.

Saturday, 30 April, 2011

Top Drawer


Finally got the top drawer done and installed. I had to router out the slot for the bottom. I used a piece of 1/4" pine plywood left over from another project. Since I used a centre slide I had to double up part of the bottom, so the screws didn't go right through. It took me a while to figure out how the slides work. They come apart in to 3 pieces, so they're adjustable in depth, and you can pull the drawer out.
I added supports for the drawers, don't know if it's necessary with the slide, but it wasn't that much more effort. I still need to do the bottom one. I got some more wood to do the sides, so hopefully I can get started on those tomorrow. Hopefully they won't take as long as this one did.